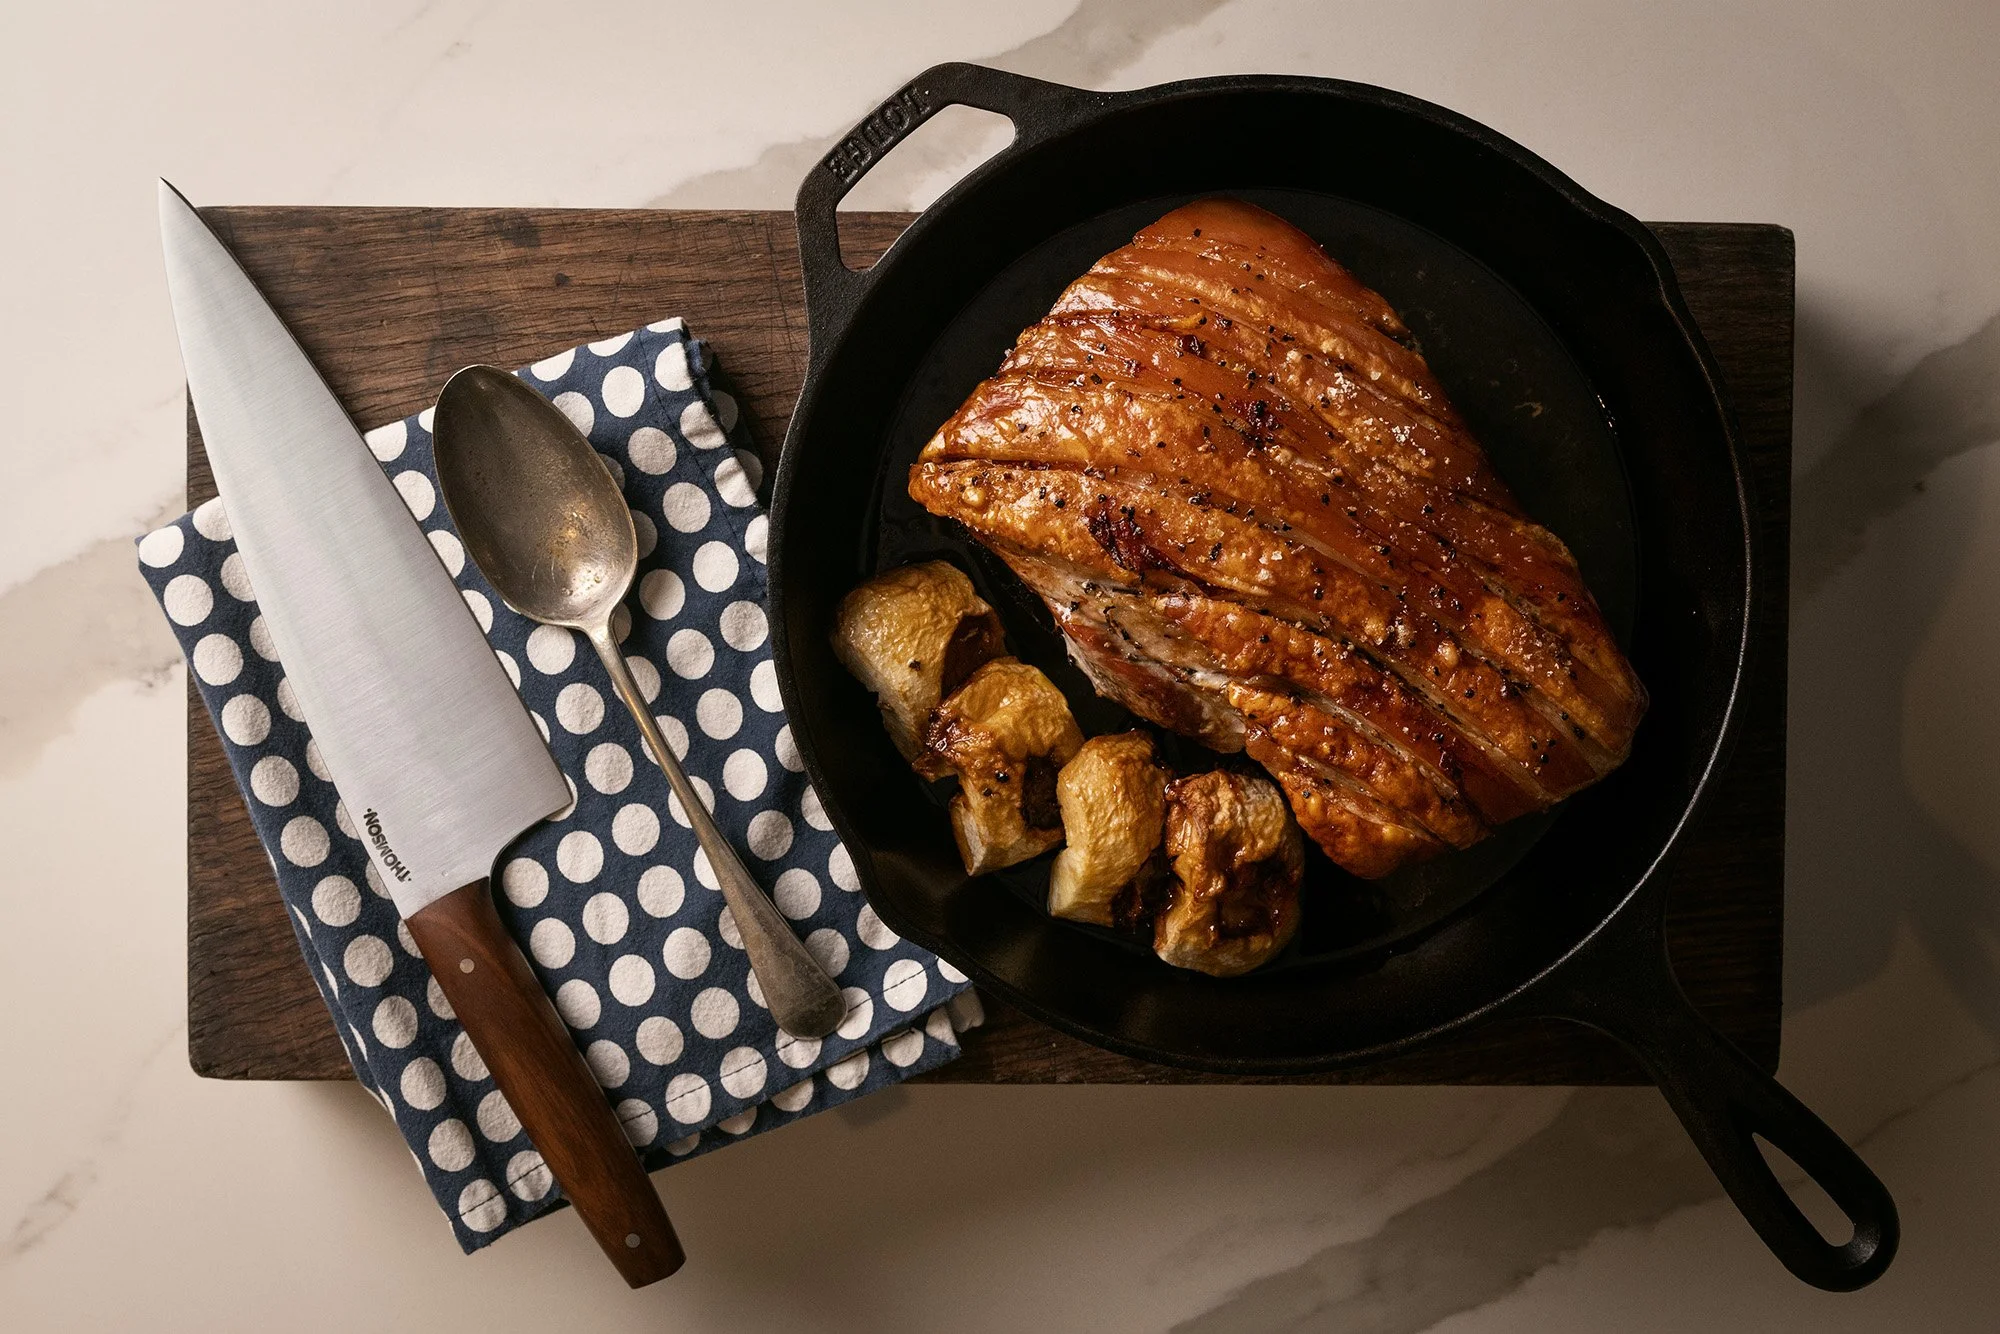
CAST IRON PORK BELLY with Crackling & Apple Cider Jus
Crackling is not a bonus. It is the whole point.
Pork belly is one of the most forgiving cuts to cook outdoors. It has enough fat to stay moist over a long, slow cook, and enough surface area to develop serious colour and texture when the heat is turned up at the end. The crackling is the payoff for the patience.
Get the skin dry, score it correctly, and give it the right amount of direct heat at the right moment. It will blister, puff, and shatter. That is what you are working towards.
The apple cider jus is the counterpoint. It is sharp, slightly sweet, and cuts through the richness of the pork in a way that keeps the dish from feeling heavy. Built in the same cast iron pan after the belly comes out, it picks up every bit of caramelised pork fat left behind. Nothing is wasted.
This recipe is built for a cast iron pan over a kettle BBQ or campfire. You need even, controllable heat and a vessel that retains it. Cast iron is the right tool for both the slow cook and the high-heat crackling finish.
Serves 4
Prep Time 20 minutes (plus overnight dry brine)
Cook Time 2 hours 30 minutes
Rest Time 15 minutes
Fire Setup Indirect medium heat, then direct high heat for crackling
Target Temp 85 to 90 degrees C internal before crackling finish
Difficulty Intermediate
INGREDIENTS: THE PORK BELLY
1.2 to 1.5 kg Pork belly, skin on, bone out
2 tsp Flaky sea salt (for dry brine)
1 tsp Fennel seeds, lightly crushed
1 tsp Cracked black pepper
1 tsp Smoked paprika
4 cloves Garlic, minced
2 tbsp Olive oil
INGREDIENTS: APPLE CIDER JUS
250 ml Dry apple cider
200 ml Good quality chicken or pork stock
1 Shallot, finely diced
2 cloves Garlic, minced
1 tbsp Dijon mustard
1 tbsp Apple cider vinegar
1 sprig Fresh thyme
1 tbsp Unsalted butter, cold
Salt and pepper to taste
METHOD
01. DRY BRINE OVERNIGHT
The night before cooking, pat the pork belly skin completely dry with paper towel. Using your Classic Chef's
Knife, score the skin in parallel lines 1 cm apart, cutting through the skin and just into the fat but not into the
meat. Rub the flaky salt generously over the scored skin only. Place the belly skin-side up on a wire rack over a
tray and refrigerate uncovered overnight. The salt draws out moisture and begins breaking down the skin for
crackling.
- The drier the skin going into the cook, the better the crackling. Do not skip the overnight rest.
02. SEASON THE MEAT SIDE
Remove the pork belly from the fridge 30 minutes before cooking. Combine the fennel seeds, cracked pepper,
smoked paprika, minced garlic, and olive oil into a paste. Rub this mixture firmly over the meat side and the cut
edges of the belly, avoiding the skin. The skin should remain dry and salt-only at this stage.
- Keep the rub off the skin entirely. Oil on the skin before the slow cook prevents crackling from forming.
03. SET UP THE FIRE
For a kettle BBQ, bank coals to one side and set up for indirect medium heat, aiming for 160 to 170 degrees C
ambient. For a campfire, build a solid coal bed and allow it to settle before placing the cast iron. Preheat the cast
iron pan over direct heat for 3 to 4 minutes before the belly goes in.
- A consistent, moderate heat for the slow phase is more important than a high one. Patience builds the best result.
04. SLOW COOK THE BELLY
Place the pork belly skin-side up in the preheated cast iron. Move to the indirect side of the BBQ or raise it
above direct campfire heat. Cook with the lid on for 2 to 2.5 hours, until the internal temperature of the meat
reaches 85 to 90 degrees C and the fat has rendered visibly. The skin will have dried and tightened during this
phase. Do not open the lid unnecessarily.
- Check the temperature at the 90-minute mark. Belly thickness varies and so does cook time.
05. BLAST THE CRACKLING
Once the belly has reached temperature, move the cast iron directly over the coals or highest heat available.
The skin needs intense, direct heat to blister and puff. Cook skin-side up for 10 to 15 minutes, watching closely.
The skin should bubble, blister, and turn deep golden. If the skin is not blistering, increase the heat or move the
pan closer to the coals.
- Do not walk away during the crackling phase. It goes from perfect to burnt in under two minutes.
06. REST THE BELLY
Remove the belly from the cast iron and rest it skin-side up, loosely tented with foil, for 15 minutes. Do not cover
the skin tightly or the crackling will soften. The belly will continue to cook slightly and the juices will redistribute.
- Rest skin-side up only. Steam trapped under foil will undo the crackling in minutes.
07. BUILD THE APPLE CIDER JUS
While the belly rests, return the cast iron to medium heat. Add the diced shallot and minced garlic to the residual
pork fat and cook for 2 minutes until softened. Add the thyme sprig, then deglaze with the apple cider, scraping
up all the caramelised bits from the base of the pan. Add the stock and apple cider vinegar. Reduce by half over
medium-high heat, approximately 8 to 10 minutes. Stir in the Dijon mustard, then remove from heat and whisk in
the cold butter to finish. Season and strain if desired.
- The cold butter added off the heat gives the jus a glossy, restaurant-quality finish. Do not add it while the pan is still
on direct heat.
08. PORTION AND SERVE
Use your Slicer - Forged Finish to portion the belly into thick slabs, cutting cleanly through the crackling with a
single confident stroke. The long blade gives you the control to cut through the crisp skin without shattering it.
Arrange on a board or platter, spoon the apple cider jus around the base, and serve immediately.
- A sharp, long blade is the only way to cut through crackling cleanly. A short or blunt knife will shatter it.
SERVE WITH
Creamy white bean puree or soft polenta to soak up the jus. Braised cavolo nero or wilted greens with garlic. Roasted apple halves cooked alongside the belly in the cast iron. A glass of dry Riesling or a cold, dry cider.
THE RIGHT KNIFE
Pork belly asks a lot of a knife across the whole cook. The scoring of the skin before the dry brine needs a sharp, controlled blade that cuts cleanly through the rind without dragging or tearing. The rub needs precise chopping.
The jus needs a fine dice on the shallot. And at the end of it all, portioning through crackling demands a long, confident blade that follows through in a single stroke. The Classic Chef Set covers every one of these moments.
Four knives built to work together: the Chef Knife for prep, the Slicer for carving, the Bunka for chopping, and the Paring Knife for the detail work. Available in carbon steel or stainless.
Classic Chef Set · from $790 AUD · Carbon Steel or Stainless Steel